How to build a fire that lights every time
The secret to a fire that catches on the first match is not a trick. It is dry wood and the top-down build. Here is the exact beginner-friendly method I use, step by step.

A fire that lights every time comes down to two things: properly dried wood and the right build. Stack your wood biggest on the bottom and smallest on top, put your kindling and fire starters at the very top, and light from above. The flame burns down into the wood beneath it, which is cleaner, easier, and far more reliable than the old crumpled-newspaper-under-the-logs approach.
Short answer
Build the fire upside down. Put your largest splits on the bottom, smaller splits crossed on top, then a layer of kindling, then two fire starters at the very top. Open the damper, light the top, and leave it alone. With dry, kiln-dried wood this lights on the first match almost every time.
Why the top-down method lights a fire every time
Most people learn to build a fire the same way: newspaper on the bottom, kindling on top of that, then logs stacked over everything. It works sometimes. It also fails often, because you are asking a small flame at the bottom to fight its way up through cold, heavy logs while smoke pours into the room.
The top-down method flips that logic. You light the kindling and starters at the very top, and the flame works its way down into the fuel below it. Heat rises, so the fire preheats and dries each layer just before it reaches it. By the time the flame gets to your big bottom logs, they are warm and ready to catch.
The payoff is real. A top-down fire lights more reliably, produces noticeably less smoke at startup, and burns longer without you crouching down to poke and rearrange it. You build it once and walk away.
Why dry wood is the part you cannot skip
Here is the honest truth after years of doing this: technique matters, but wood matters more. The best build in the world will sputter and smoke if the wood is wet. Water inside a log has to boil off before the wood can burn, and that steals heat, throws smoke, and coats your chimney in creosote.
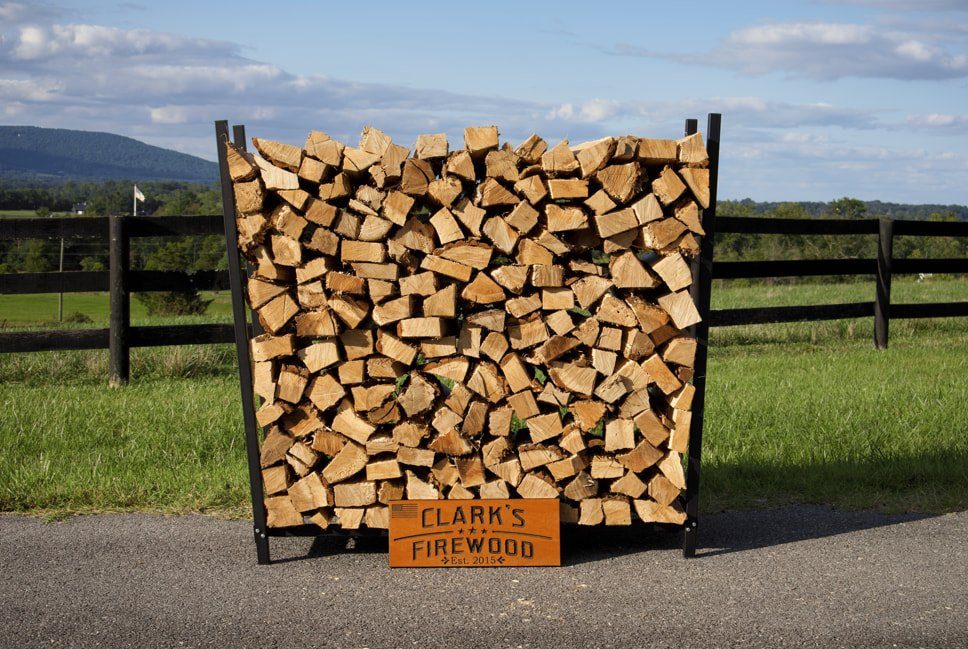
This is why I only sell kiln-dried wood. Kiln drying brings moisture down low, on average under 12 percent, which is well below what you typically get from wood that has just been seasoned outdoors. Low-moisture wood lights faster, burns hotter and cleaner, and behaves predictably every single time. If your fires have been frustrating, the wood is usually the reason, not you.
| Factor | Wet or green wood | Kiln-dried wood |
|---|---|---|
| Lights on first try | Often no | Almost always |
| Startup smoke | Heavy | Minimal |
| Heat output | Lower (energy lost boiling off water) | Higher |
| Creosote buildup in chimney | More | Less |
| Indoor storage | Risk of bugs and mold | Clean and safe |
What you need
You do not need much, and most of it lasts a long time. Here is the short list:
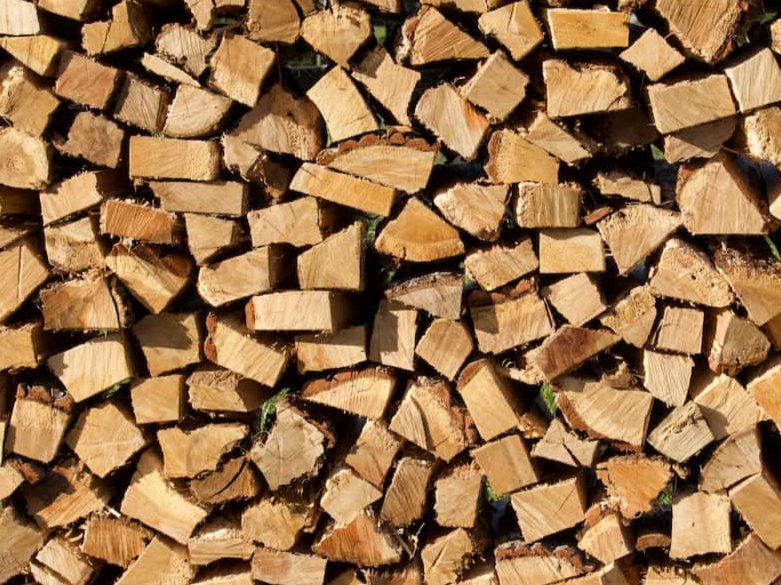
- Kiln-dried splits. Three to five well-dried 16-inch splits for a single evening fire. Our kiln-dried mixed hardwoods light easily and are the easiest place to start.
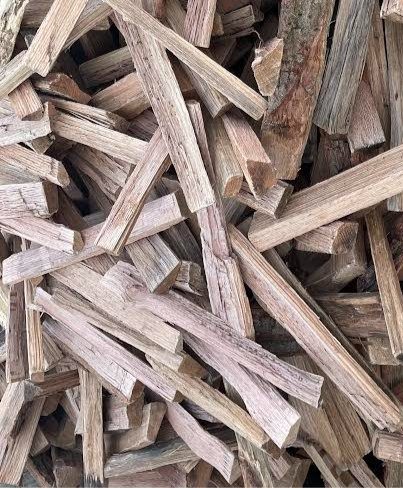
- Kindling. A handful of thin sticks and small split pieces. Our Simple Start kindling is made for exactly this, but any dry, finger-thin wood works.
- Two fire starters. Wax-and-wood starter cubes, fatwood, or a tightly twisted piece of paper. Two is the sweet spot. One is often not quite enough.
- A long match or lighter. Something that lets you reach the top of the stack without leaning in.
- A fireplace screen. Non-negotiable for safety once the fire is going.
That is it. No accelerants, no lighter fluid, no gimmicks. Dry wood plus kindling plus two starters is what makes this foolproof.
The step-by-step top-down build
Read it once and you will have it for life. The whole build takes about three minutes.
Step 1: Open the damper and check the firebox
Before anything else, open the damper fully. A closed or partly closed damper is the number one cause of a smoky room. Make sure the firebox is reasonably clean and not packed with old ash, which can choke airflow.
Step 2: Lay your biggest splits on the bottom
Place two or three of your largest splits flat on the floor of the firebox or on the grate, side by side, running front to back. Leave a small finger-width gap between them so air can move. This is your foundation and your long-burning fuel.
Step 3: Add a smaller layer, crossed at 90 degrees
Lay two or three smaller splits across the bottom layer, turned 90 degrees so they sit perpendicular. Crossing the layers builds in air channels, and air is what keeps a fire alive.
Step 4: Build a kindling layer on top
Add a loose crisscross layer of kindling on top of the smaller splits. Loose, not packed. You want gaps for air, not a solid wall of wood.
Step 5: Place two fire starters at the very top
Tuck two fire starters into the top of the kindling layer. They live at the top, not the bottom. This is the part that feels backwards the first time and is exactly why the method works.
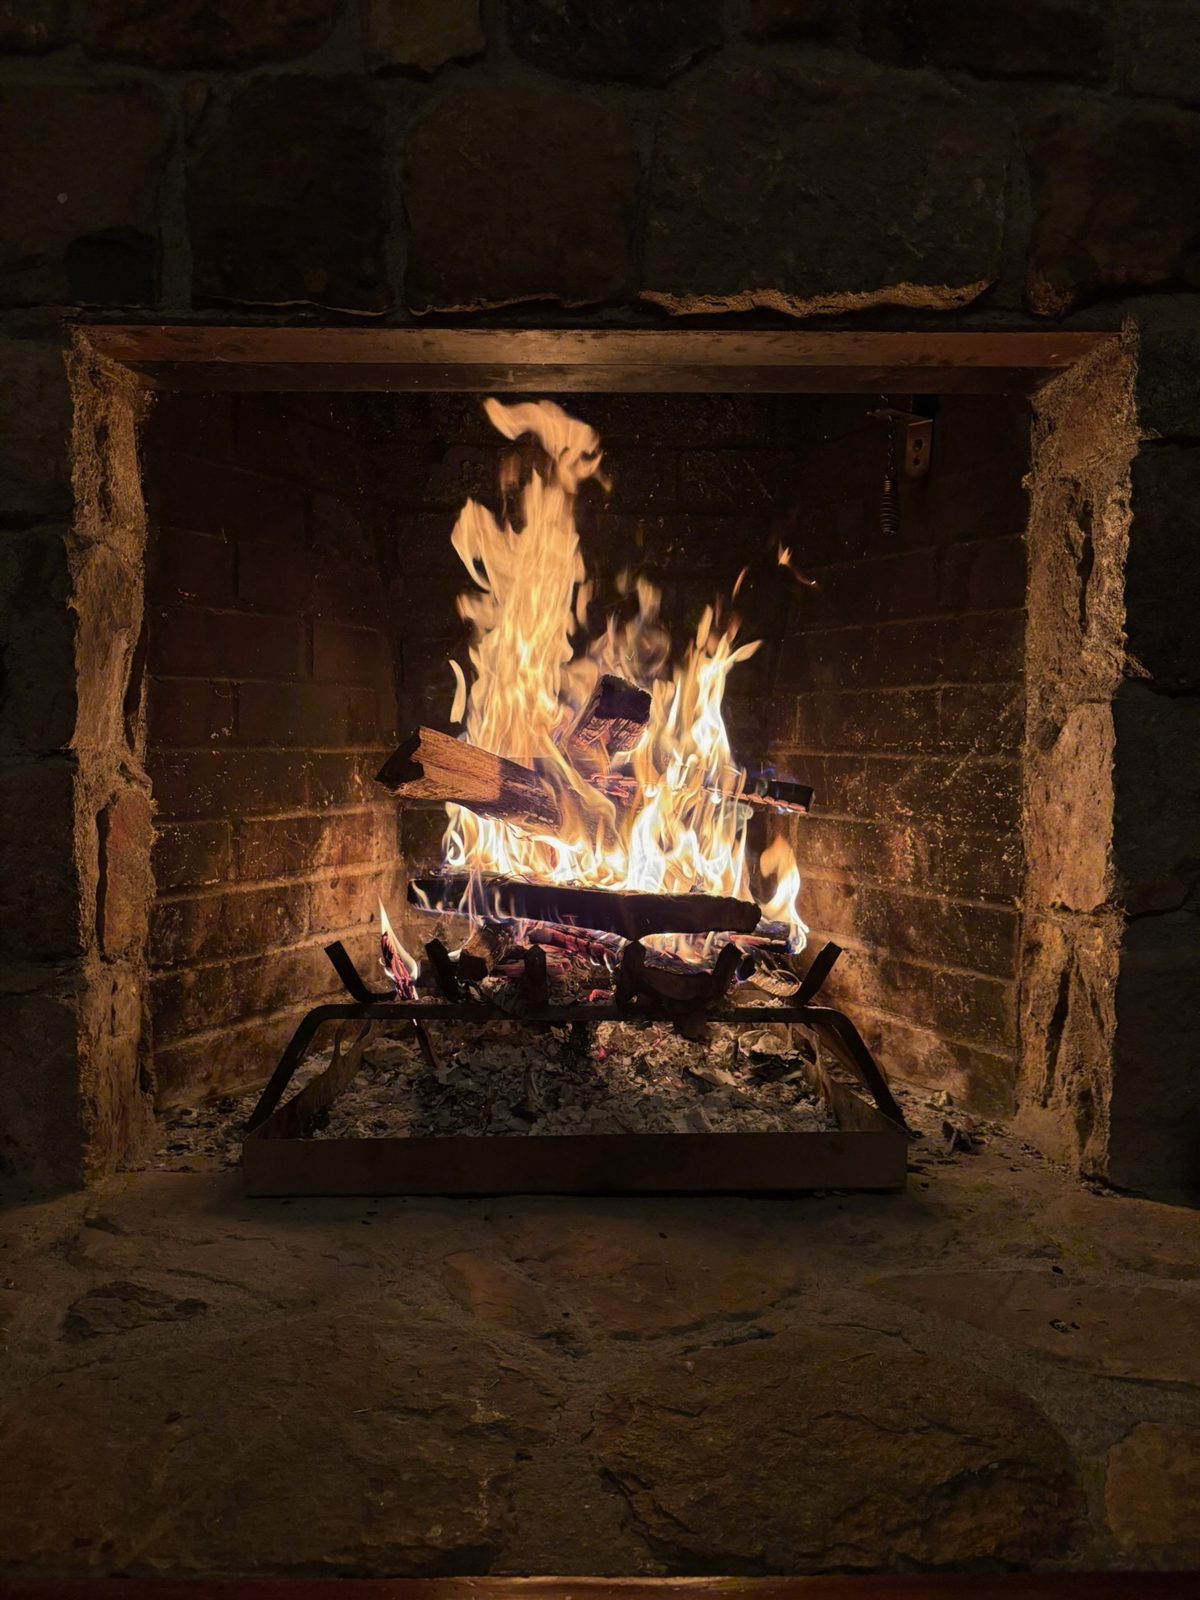
Step 6: Light the top and walk away
Light the starters. The flame will catch the kindling, then work its way down into the splits below. Resist the urge to poke it. Within a few minutes you will have a steady, self-feeding fire that needs almost nothing from you.
How to get good airflow and a clean burn
Fire needs three things: fuel, heat, and air. Most failed fires are short on air. A few habits fix that:
- Build loose, not tight. Crossed layers and small gaps let oxygen reach the flame from all sides.
- Keep the damper fully open until the fire is well established. You can close it down slightly later to slow the burn, but never start with it choked.
- Warm the flue if your chimney is cold. On a very cold day, hold a lit piece of rolled paper up near the open damper for about fifteen seconds before lighting the fire. This starts the draft pulling upward so smoke goes up, not out.
- Burn dry wood. It is the single biggest lever on a clean burn. Dry wood means less smoke, less creosote, and more heat in your room. If you heat with a stove, the same rules apply, and my guide to the best firewood for wood stoves covers which species burn hottest and longest.
Troubleshooting a smoky start
If smoke is coming into the room instead of going up, stop and run through this quick list. One of these is almost always the cause.
| Problem | Likely cause | Fix |
|---|---|---|
| Smoke rolling into the room | Damper closed or partly closed | Open the damper fully before lighting |
| Fire smolders, will not catch | Wet wood or too few starters | Use dry kiln-dried wood and two starters |
| Lots of smoke, weak flame | Cold flue, no upward draft yet | Warm the flue with rolled paper first |
| Fire dies after a few minutes | Stacked too tight, no airflow | Rebuild looser with gaps between pieces |
| Hard to light at all | Kindling too thick or damp | Use thinner, bone-dry kindling on top |
Basic fireplace safety
None of this is complicated, but it matters every single time:
- Open the damper before you light and keep it open while the fire burns.
- Use a screen or glass doors to keep sparks and embers in the firebox.
- Keep the hearth clear of rugs, furniture, and anything flammable for at least a few feet.
- Never leave a fire unattended and let it burn down fully before going to bed.
- Store wood indoors safely. Because our wood is kiln-dried, it is clean and bug-free, so it is safe to keep a stack near the fireplace without bringing pests inside.
The bottom line
A fire that lights every time is not luck. It is dry wood, a top-down build, an open damper, and a little airflow. Get those right and you will stop fighting your fireplace and start enjoying it. The wood does most of the work, which is exactly why I am so particular about it.
If you want fires that light on the first match all winter, start with wood that is built for it. Browse our kiln-dried hardwoods and kindling on the shop page and I will get it delivered to your door, personally guaranteed.
Frequently asked questions
What is the top-down method for building a fire?
It is a way of building a fire upside down from how most people learn. You put your largest splits on the bottom, smaller splits crossed on top, then a layer of kindling, then your fire starters at the very top. You light the top and the flame burns downward into the fuel below it. It lights more reliably and produces less startup smoke than lighting from the bottom.
Why does my fire keep going out or smoking?
The two most common causes are wet wood and a closed or partly closed damper. Wet wood has to boil off its moisture before it can burn, which smothers the flame and creates smoke. Always open the damper fully before lighting, and burn properly dried wood. Kiln-dried wood with low moisture, on average under 12 percent, lights and burns far more reliably.
Do I really need fire starters, or can I just use newspaper?
Newspaper works as a starter, but it burns out fast. I recommend two wax-and-wood starter cubes or pieces of fatwood placed at the top of the build. They burn longer and hotter than paper, which gives your kindling enough time to fully catch. Two starters is the sweet spot for a dependable light.
How much wood do I need for one evening fire?
For a single evening fire you generally need three to five good 16-inch splits plus a handful of kindling. As a rough guide, a 2 foot by 4 foot stack of our wood lights roughly 20 fires, so you can scale up from there based on how often you burn.
Is kiln-dried wood really better than seasoned wood for lighting fires?
For ease and reliability, yes. Kiln drying brings moisture down low and keeps it consistent across every split, so the wood lights faster, burns hotter and cleaner, and behaves the same way every time. It is also clean enough to store indoors without worrying about bugs or mold.
Do I need to open the damper every time?
Yes, every time. The damper is the valve that lets smoke escape up the chimney. If it is closed or only partly open when you light the fire, smoke will roll back into the room. Open it fully before lighting and keep it open while the fire is burning.
Can I store firewood inside near my fireplace?
Because our wood is kiln-dried, it is clean and bug-free, so keeping a small stack near the fireplace is safe and convenient. Just keep it a safe distance from the firebox and off the hearth itself, and never stack it where it could catch a stray spark or ember.
Clark started splitting and selling firewood on his family farm in Upperville, Virginia at age 11. Today Clark's Firewood delivers premium kiln-dried hardwood to homes across Virginia, Washington DC, Maryland, and Pennsylvania, and Clark personally guarantees every order.